Your Cart is Empty

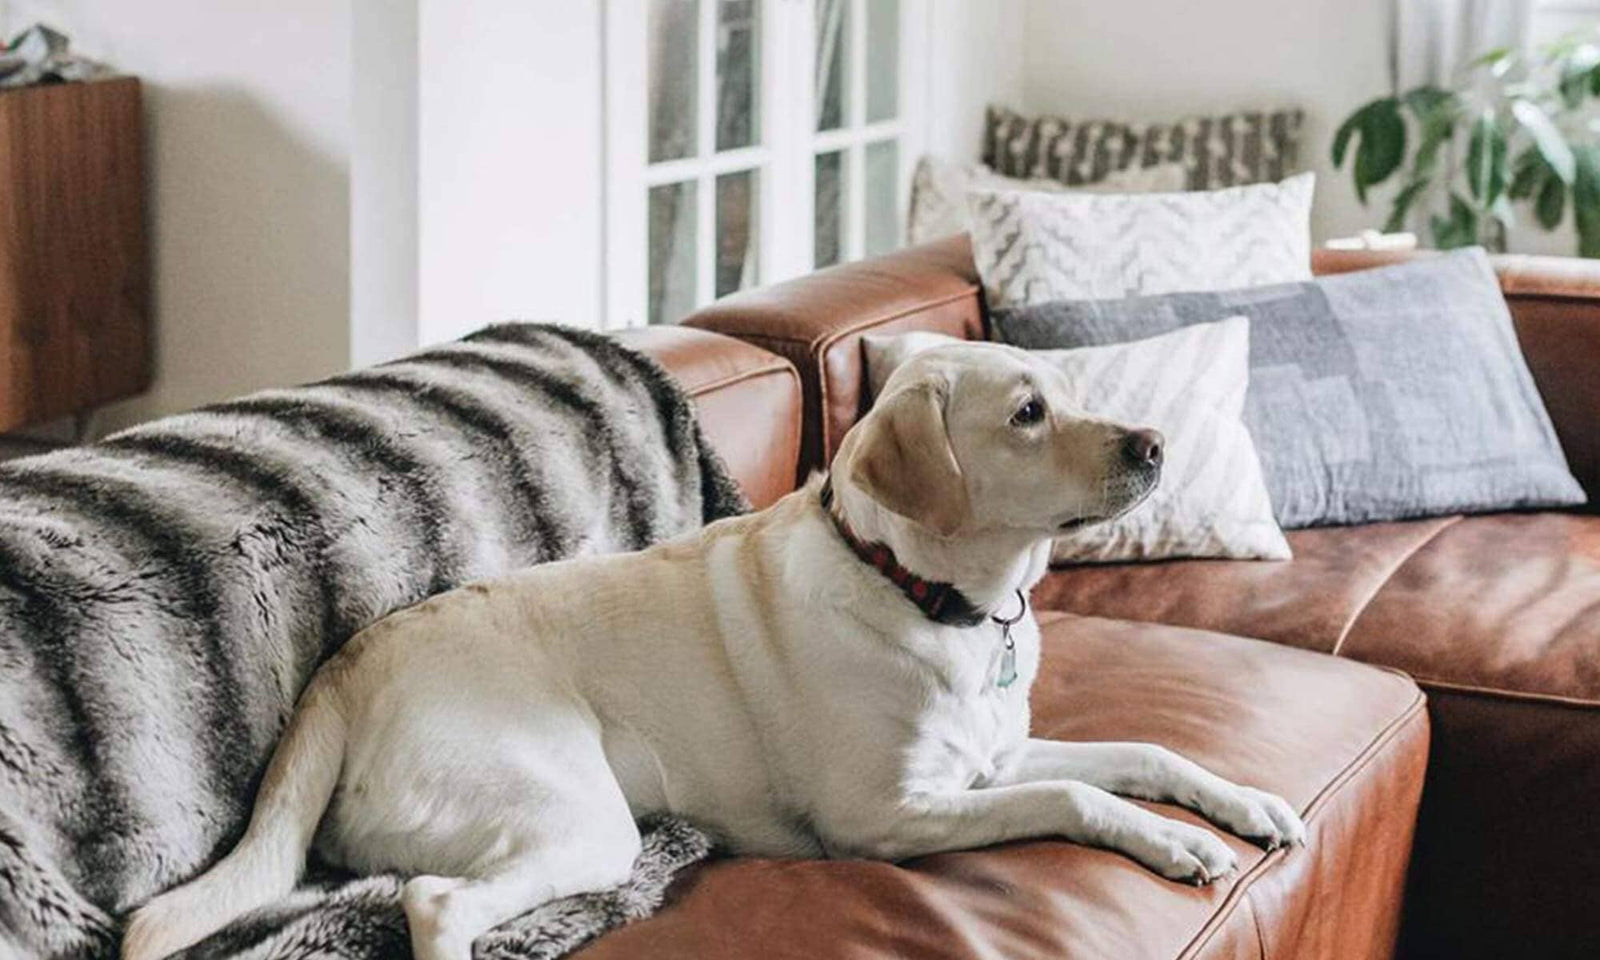
They say a dog is man’s best friend, however, they don’t seem to get along too well with a genuine leather couch. A relationship not destined to last, but your leather couch can - and here’s how.
Before you can begin the recovery process, it's advised to knowing which type of leather your leather sofa is made from.
Pigmented Leather
Aniline Leather
Bicast Leather
Now that you understand what type of leather you are working with and what to look out for, you can begin the leather couch repair process in 9 simple steps.
Assess the scratched area and determine its severity. The severity of the scratch determines the procedure that needs to be followed.
If the damage is minor (light cat or dog scratches that have slightly discoloured your leather sofa) a simple genuine leather re-colouring balm will work wonders. Simply apply the leather colour restorerwith an old clean cloth and buff it until the area looks good as new! There are over 21 colours available to match every shade of genuine leather furniture. However, should the damage be slightly more severe, a simple cover-up won’t quite do. Should your cat decide to use the side of your leather couch as a scratching post, or something similar occur, you can follow these steps.
Start the process by cleaning the affected area to remove any excess dust, animal hairs or dirt in the area.
With a sharp pair of scissors or even a razor, run the blades over the fibres and gently remove all the excess fibre. Be careful not to cut into the leather and take your time as this process can cause further damage.
Apply a minimal amount of Leather Binder to the area. Slowly and evenly, rub the binder onto the affected area, allow to cool, and repeat approximately 5 times. This will strengthen the weakened area and repair any cracks and scratches. Alternatively, a good genuine leather repair kit will also help this process.
Using fine sandpaper, lightly sand down the area to achieve an even, smooth surface. Once completed, dust off any remaining residue.
Apply a thin layer of heavy leather fillerwith a spatula or palette knife. It’s important to fill any holes to ensure the entire area is smooth and even. Apply another layer if necessary. Leave the area to dry for approximately 15-20 minutes.
Once dry, lightly sand the area again until smooth, then wipe away any residue with a damp cloth or alcohol cleaner.
Once the area has dried. Apply a small amount of genuine leather colourant to the area. Slowly apply this with an old sponge and apply with a smooth circular motion. Should the affected area not match the rest of your authentic leather couch. One is able to airbrush the colourant on.
Once you are satisfied with the results, apply a small amount of Leather Sealer to your couch. This will protect the area from any future damage. It may take approximately 3-5 layers until you are happy, but once dried, your genuine leather couch will be good as new!